Finding Your Signature Style: Drawing from a Photo
Ever feel trapped by a reference photo?
When you’re trying to draw something like a flower, a bird, or even a pair of boots, it’s easy to get stuck trying to make it look exactly like the picture.
But a photo is just a starting point! There’s a huge world between drawing perfectly realistic and drawing a super simple cartoon. Figuring out where you fit on that spectrum is exactly how you find your unique art style.
Let’s look at the evolution of a drawing, using a simple Cosmo flower, to see how you can take a photo and completely make it your own.
Keep it Safe (and Legal)
Before your pencil even touches the paper, make sure you have the right to use the image. If you just grab a random photo from Google Images, copy it exactly, and sell your art, you’re basically copying someone else's hard work.
To stay safe, try these two options:
-
Take your own photos: Snap pictures of flowers, textures, or cool buildings while you’re out and about. Your own camera roll is always the best reference.
-
Use royalty-free sites: If you can't take the photo yourself, websites like Unsplash are amazing for free, high-quality photos you are legally allowed to draw from.
Step 1: Look at the Real Thing (But Keep it Loose)
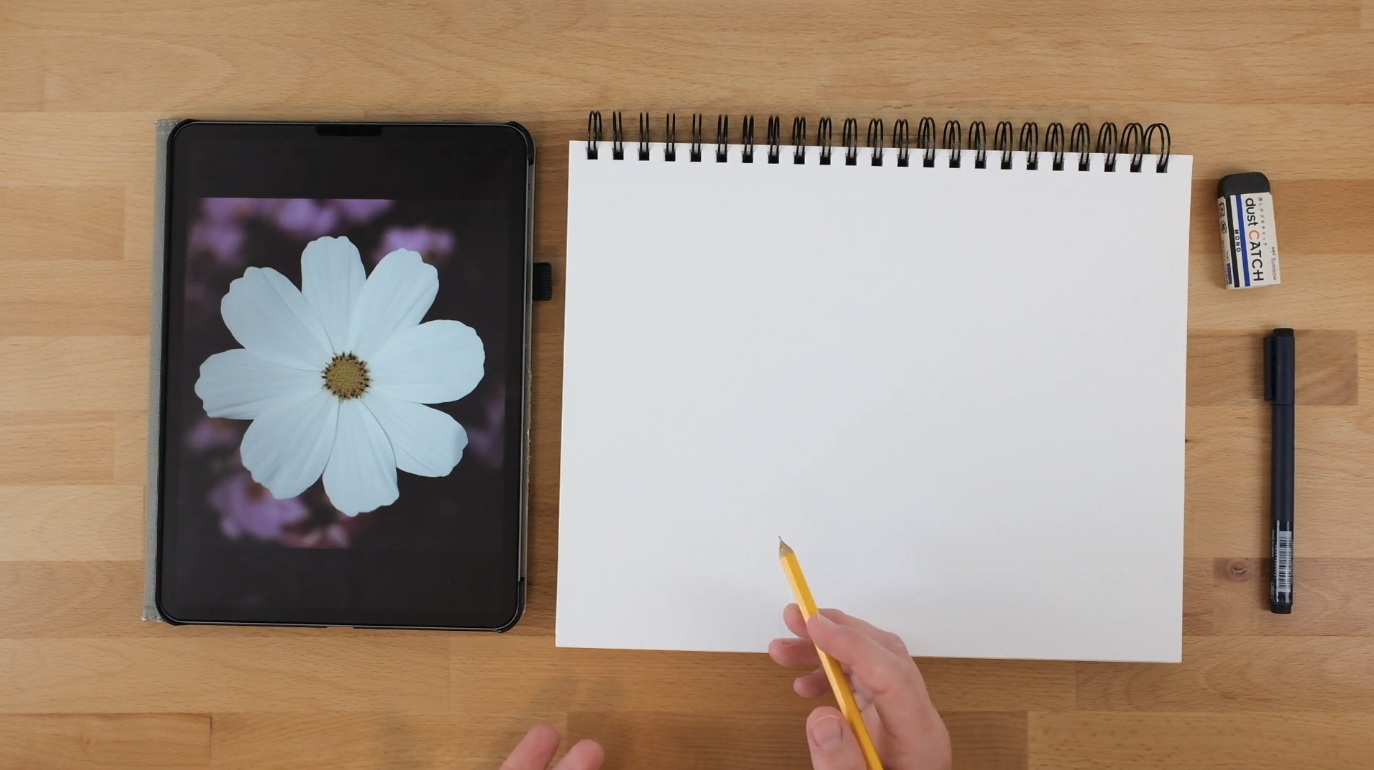
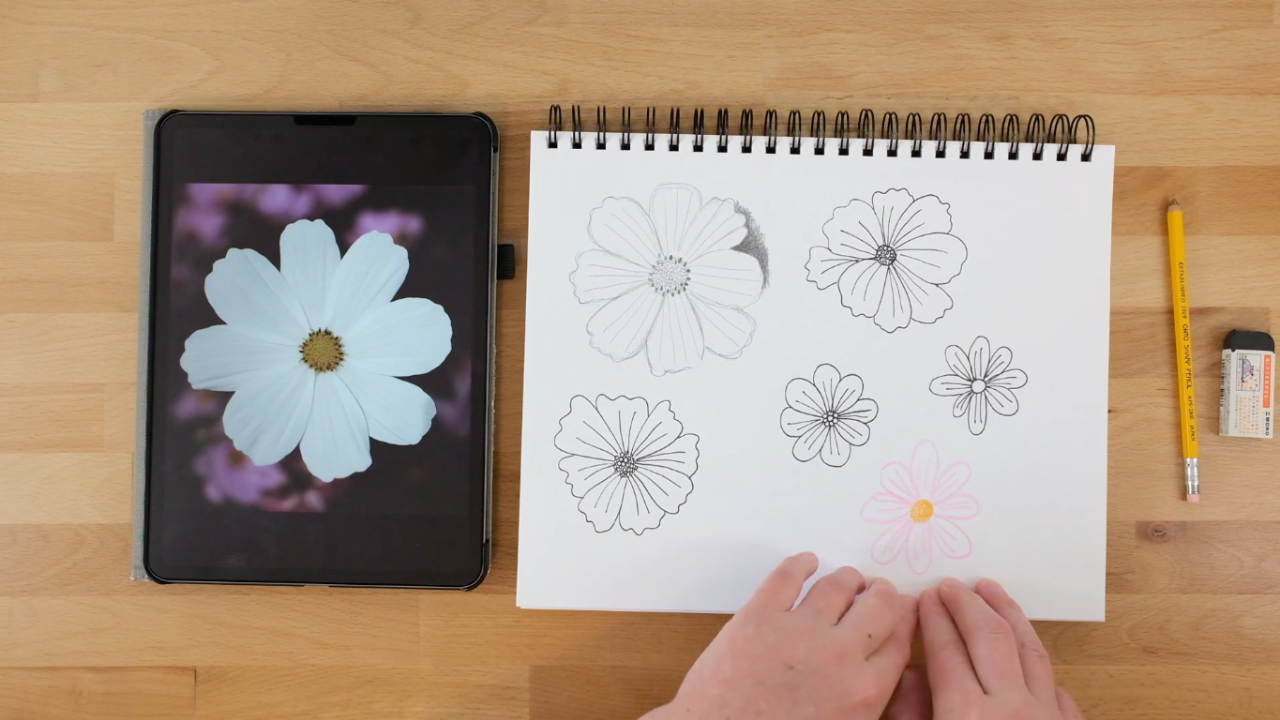
For this example, I'm using a photo of a Cosmo flower from Unsplash. If you want to practice drawing it realistically, the secret is to build the whole drawing at the same time instead of obsessing over one detail.
-
Start from the center: If you draw the outside petals first, your proportions will probably get warped. Draw a quick circle for the center and build outward.
-
Skip around: Don't go petal-by-petal in a perfect circle. That makes your drawing too stiff. Instead, rough in a petal at the top, one at the bottom, and some on the sides. Keep your pencil lines super light!
-
Check the overlaps: Look closely at the photo to see which petals are completely in front and which ones are hiding in the back. Use your eraser to clean up the overlapping lines.
Fun realism tip: In real life, flowers don't actually have black outlines around them! If you want a really realistic look, shade or color the background instead. Darkening the negative space around the flower is what actually makes the white petals pop.
Step 2: The Art of Simplifying
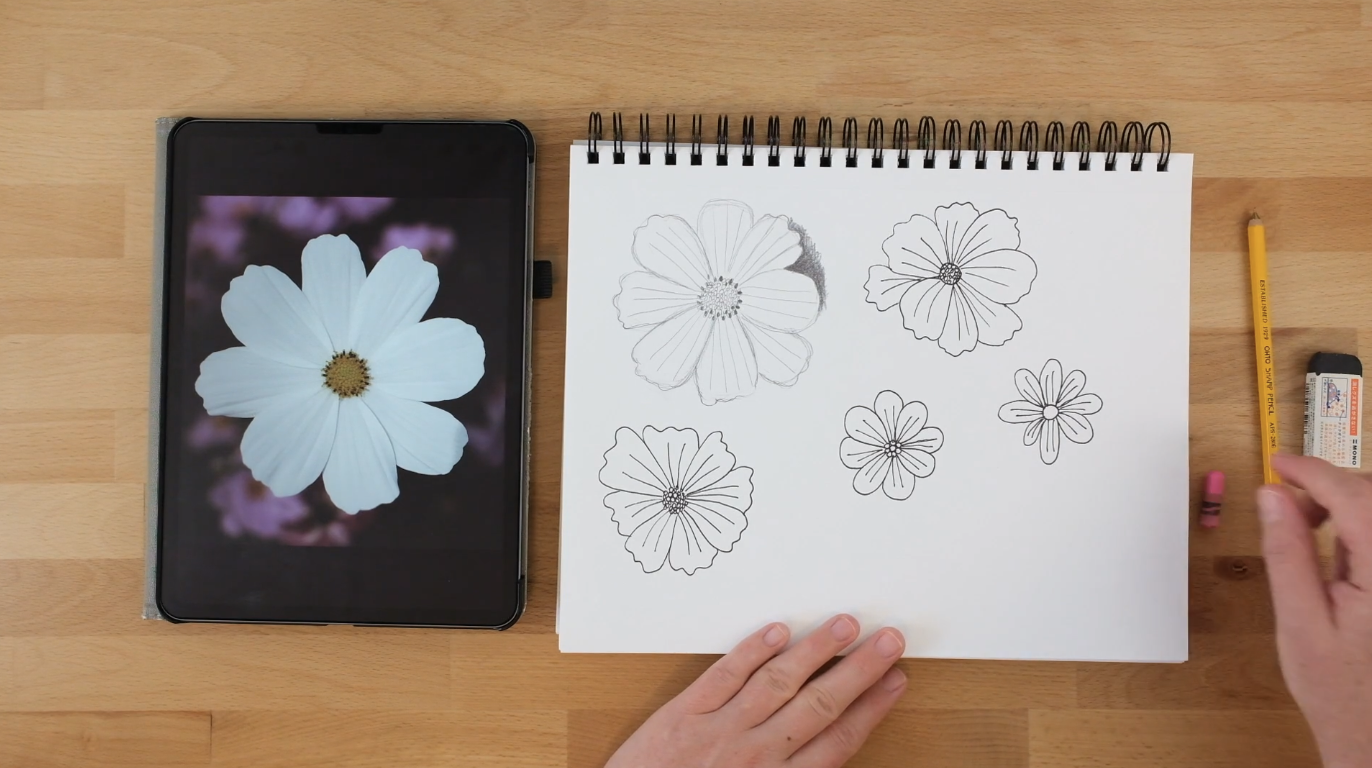
What if your style isn’t realistic at all? (Mine definitely isn't!) This is where the real fun begins. Once you understand how the flower is put together, you can start breaking the rules.
Switch over to a marker (where you can't erase) and try drawing it again and again:
-
Embrace the wonkiness: Try to draw the flower quickly with a marker. It might turn out a little lopsided, but that imperfection gives your art movement and character.
-
Change up the shapes: Instead of a solid line for the flower center, make it a bunch of tiny, playful dots.
-
Strip away details: Try drawing it with the bare minimum. No ruffles, no tiny lines on the petals. What’s the simplest way you can draw it and still have people know it’s a flower?
By drawing the same thing over and over, you naturally stop looking at the photo and start leaning into your own style.
Step 3: Do What Makes You Happy
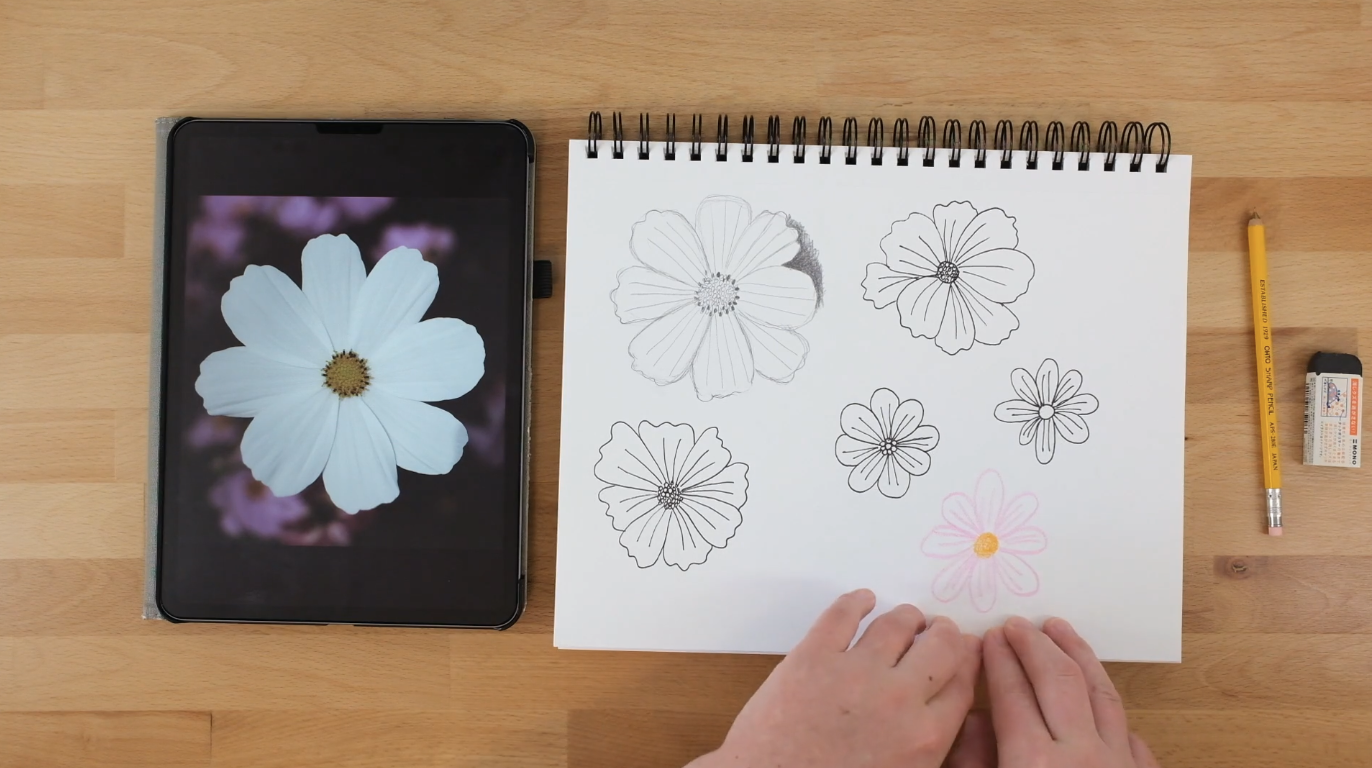
By the time I get to my final version of a flower, I leave the photo behind completely and grab my absolute favorite tool: crayons.
My final drawing is usually just a bright yellow circle and a few simple, vibrant pink loops. It looks absolutely nothing like the original photo, but it looks exactly like me.
Try This Next Time You Draw:
Don’t stop after your very first sketch. Try drawing the exact same thing three, four, or five different ways. Switch up your tools: try pencil, marker, and crayon.
As you play around, pay attention to how you feel:
-
Did you love figuring out the exact angles and shadows?
-
Or did you feel way more excited when your lines got loose, simple, and a little bit silly?
A quick tip: When you're done drawing, grab a notebook and write down your thoughts by hand. Just a minute of journaling can give you so much clarity. If you write down, "I loved it when it was halfway between realistic and simple," follow that feeling! Apply it to your next drawing, and watch your unique creative voice grow.
Ready to Make the Art that Wants to Come Out of You?
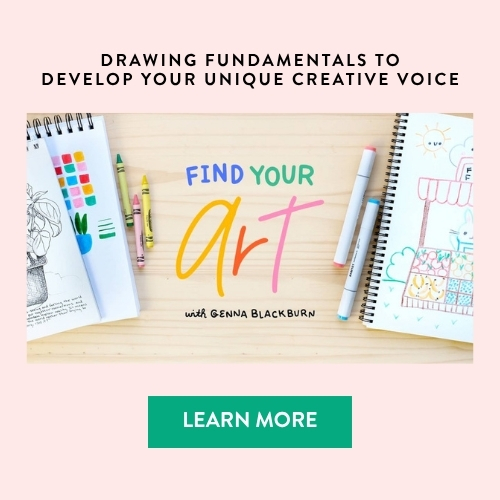
This post was inspired by a lesson In my Find Your Art class! If you're ready to check out the full lesson, plus get all the simple yet effective drawing fundamentals that will get your art flowing so you can find your unique creative voice, check it out:
Hi!
